Blurry DTF is rarely a mystery once you trace the file. Most reprints start with artwork that looked fine on a phone screen but collapsed when it hit film at production size. DPI is the first number your team should check before powder ever hits ink.
This guide explains what DPI means in a DTF workflow, what to ask customers to upload, and how to catch soft files before they become a gang sheet full of reprints.
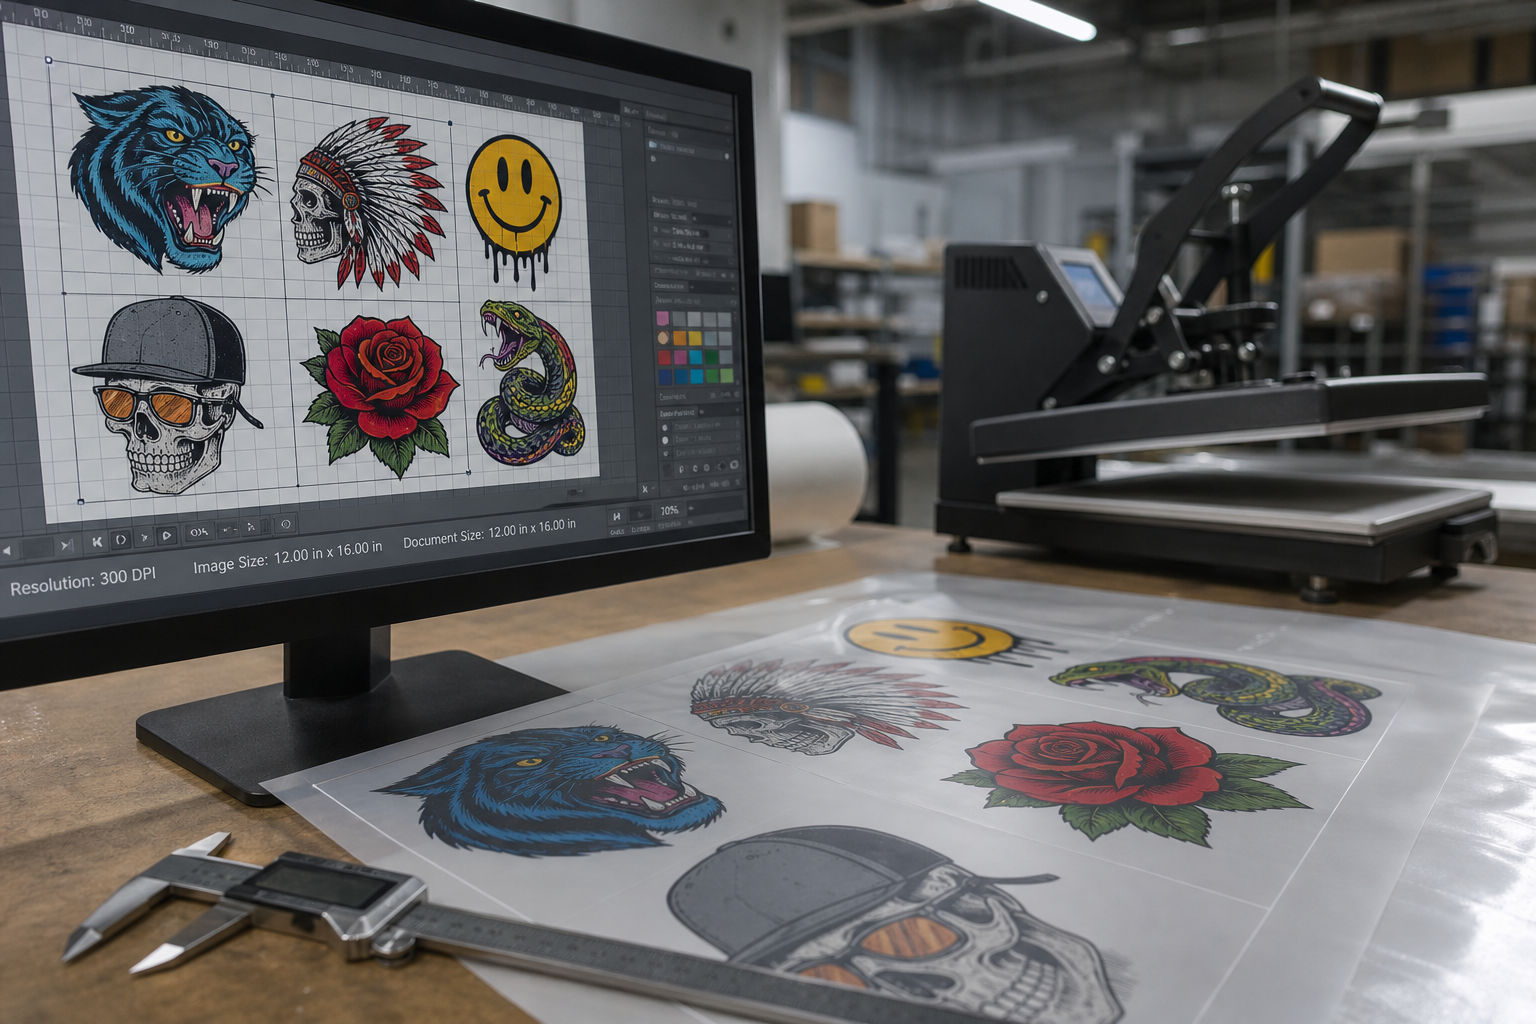
What DPI actually controls in DTF
DPI (dots per inch) describes how many pixels exist in each inch of printed output. For DTF, you care about effective resolution at the size the design will be pressed — not the pixel dimensions of the thumbnail on a product page.
A 2000×2000 PNG can still print soft if it is stretched to a 12-inch chest print. Your builder or preflight step should show print size and warn when effective DPI drops below your shop minimum.
Practical DPI targets for most DTF shops
Many shops treat 300 DPI at final print size as the default for raster art. Logos with fine type may need higher effective resolution. Large back prints with photo textures sometimes survive slightly lower numbers, but that is a judgment call your prepress lead should document — not something support guesses per order.
Vector PDF or SVG art sidesteps raster DPI limits for edges and type, but embedded raster effects inside a vector file still need checking. Do not assume “vector” means bulletproof.
Common upload mistakes that cause soft transfers
Screenshots from Instagram, WhatsApp-compressed images, and upscaled low-res files are repeat offenders. Customers mean well; the file still fails on press. Set upload rules in your Shopify builder that reject tiny files and show a plain-language message about minimum dimensions at the largest print size they selected.
Transparency and halftones punish weak sources faster than solid logos. If your shop accepts photo-heavy art, publish a short customer guide with before/after examples so sales stops promising crisp results from a 72 DPI screenshot.
Where DPI checks belong in your workflow
Check at upload, again at gang sheet export, and once more if a operator manually scales art on the sheet. Automation helps, but a human should spot-check new customers and any order flagged by your builder.
Tie DPI warnings to the order record so support sees the same alert production saw. That single trail cuts “but it looked fine on my screen” disputes.
Quick preflight checklist before you print
Confirm final print dimensions on the gang sheet. Verify effective DPI or vector integrity. Check white underbase coverage on dark garments. Match profile to film and powder from your supplier. Run a test strip when a file is new or a customer is new.
Pair file quality with correct heat press settings
See how gang sheet builder software catches bad uploads early