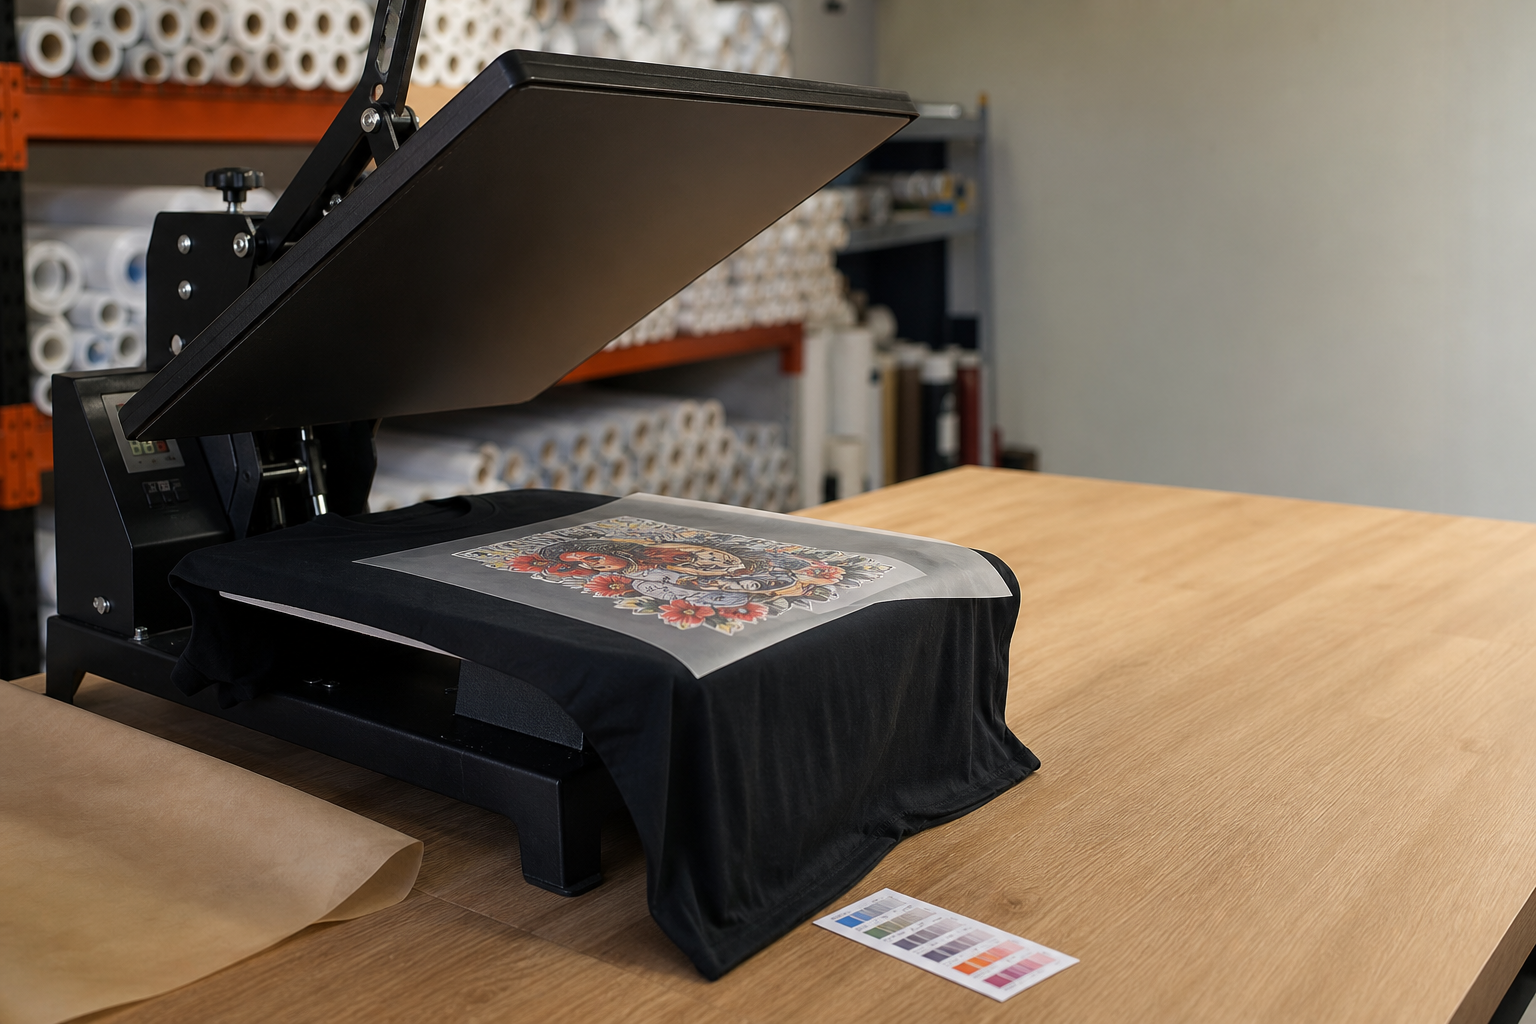
Most DTF reprints are not ink problems. They are press problems. The transfer looked fine on film, but it peeled after one wash because the shop guessed at temperature, time, or pressure. A short test routine beats a long argument with the customer every time.
What heat press settings do most DTF shops start with?
Many shops start around 300 to 320 degrees Fahrenheit for 10 to 15 seconds with medium to firm pressure. That is a starting point, not a rule. Your press brand, platen size, garment blend, and film supplier all change the answer. Write down what you use and adjust in small steps instead of jumping 30 degrees at a time.
How do you test settings before a big run?
Press one test piece on the same fabric you will sell. Wait for the transfer to cool if your film is cold peel. Stretch the print gently. Wash it once on a normal cycle. If the edges lift or the white underbase cracks, change one variable and test again. Keep the film supplier name on the test sheet so you know which combo worked.
What mistakes cause peeling and cracking?
Peeling usually means not enough time, not enough pressure, or pressing on a seam or button area. Cracking often means too much heat, too much pressure, or pressing on stretchy fabric without testing. Moisture in the shirt can also ruin a press. Pre-press the garment for a few seconds to flatten it and pull out steam before you lay the transfer down.
When a DTF transfer is not sticking
If the transfer is not sticking at all, check pressure first. Many clamshell presses feel firm but deliver uneven pressure at the edges. Add a pressing pillow for zippers and seams. Confirm the garment is cotton or cotton blend unless your film supplier approves poly blends. If only the edges fail, add five seconds or slightly more pressure before you raise temperature.
If the transfer sticks but peels after one wash, you likely pressed too cool or peeled too early on cold peel film. Re-test with a wash cycle before you blame the film lot. Log the fix on the order so the next reorder uses the same settings.
Troubleshoot DTF transfer peeling edges
Cold peel vs hot peel: what changes?
Cold peel film needs to cool before you remove the carrier. Hot peel comes off right away at the press. Mixing them up is an easy way to ruin a run. Label your film rolls and train anyone on the press which peel type they are holding. If your supplier ships both, keep them on separate shelves.
Review DTF workflow basics from Formulated Prints
Simple pressing checklist for your shop
Before production: confirm fabric blend, pre-press the garment, match film peel type, set temp/time/pressure from your last passed test, and press on a flat area. After pressing: cool or peel per film instructions, check edges and small text, and log any change. When the settings work, save them next to the supplier and fabric type so the next reorder starts from proof, not guesswork.
Read the DTF transfer supplier checklist
Good pressing habits protect the work your gang sheet builder and supplier already did. Pro Transfers Builder helps on the file and layout side. Your heat press settings protect the finish on the shirt.