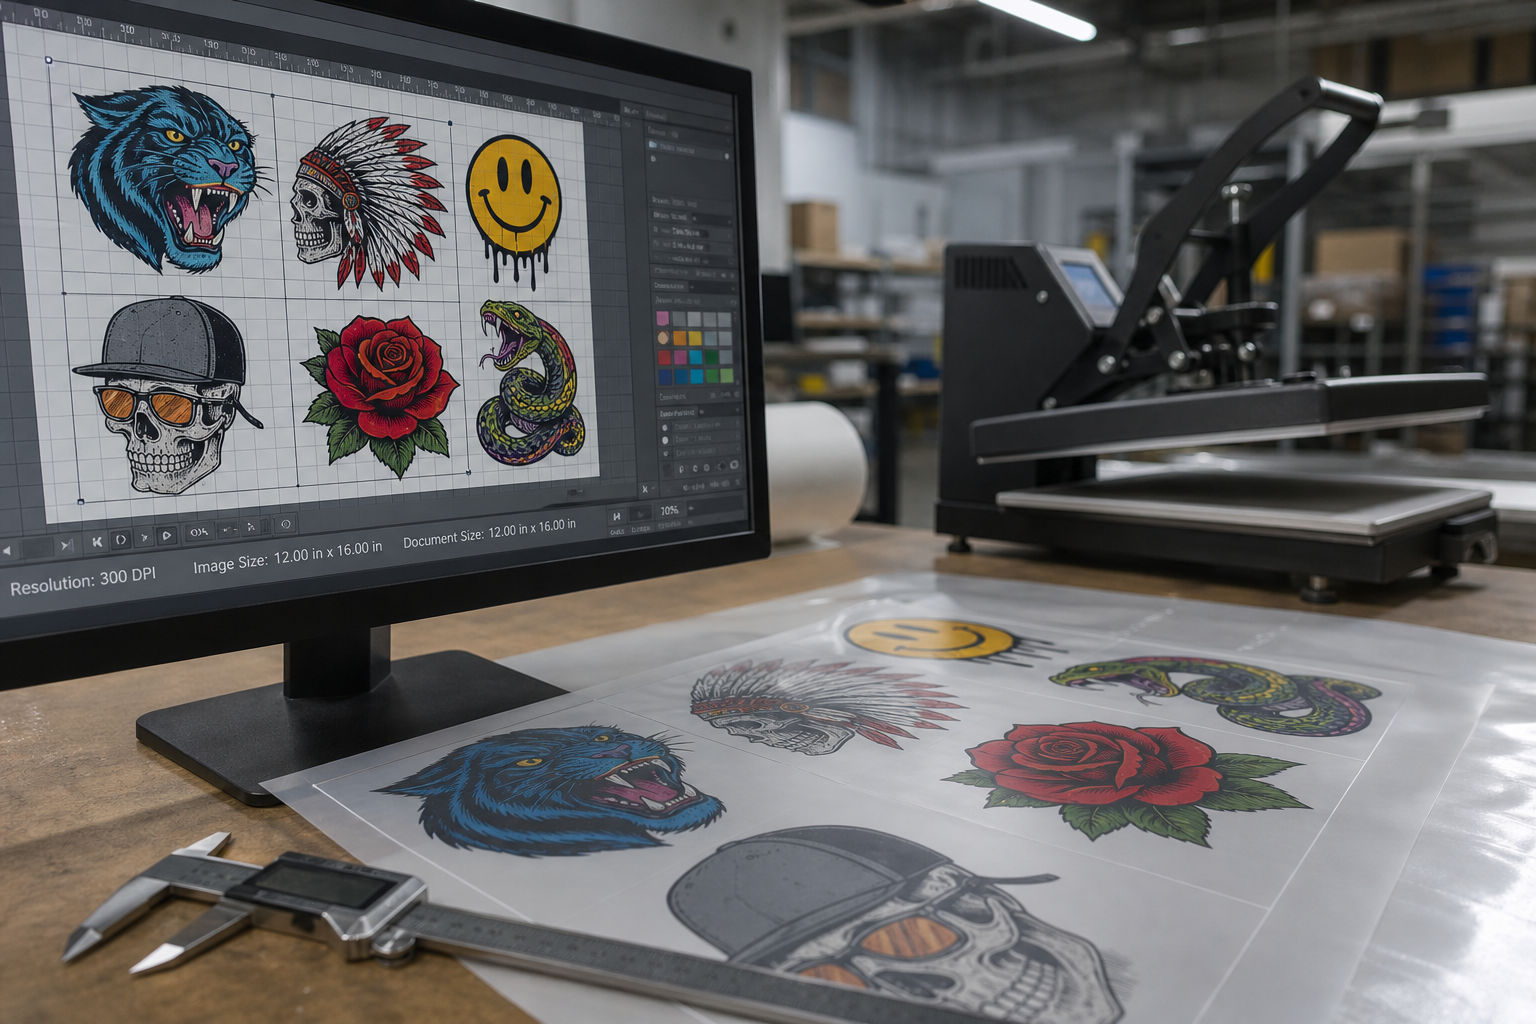
Blurry DTF prints frustrate shops because the film can look acceptable until you press on a white shirt. Soft edges and muddy small text almost always start in the file, not the ink. Fix the source art before you chase printer head angles.
Check resolution and print size first
Open the file at 100 percent and measure the longest edge at final print size. Logo art below 300 DPI at that size will look soft on cotton. Screenshots and social media downloads are common offenders. Rebuild from vector when possible or reduce the print size until pixels clear up.
RIP and scaling mistakes
Upsampling a tiny PNG to twelve inches wide does not add detail. It adds blur. Set print dimensions in the gang sheet builder before export so the RIP is not guessing. If halftones look muddy, confirm lpi settings match your film and powder combo.
Quick fix workflow
Reject low-res uploads at order intake. Re-nest at correct size. Print one test swatch on scrap film. Press on the target fabric and wash once. Only then approve the production sheet.