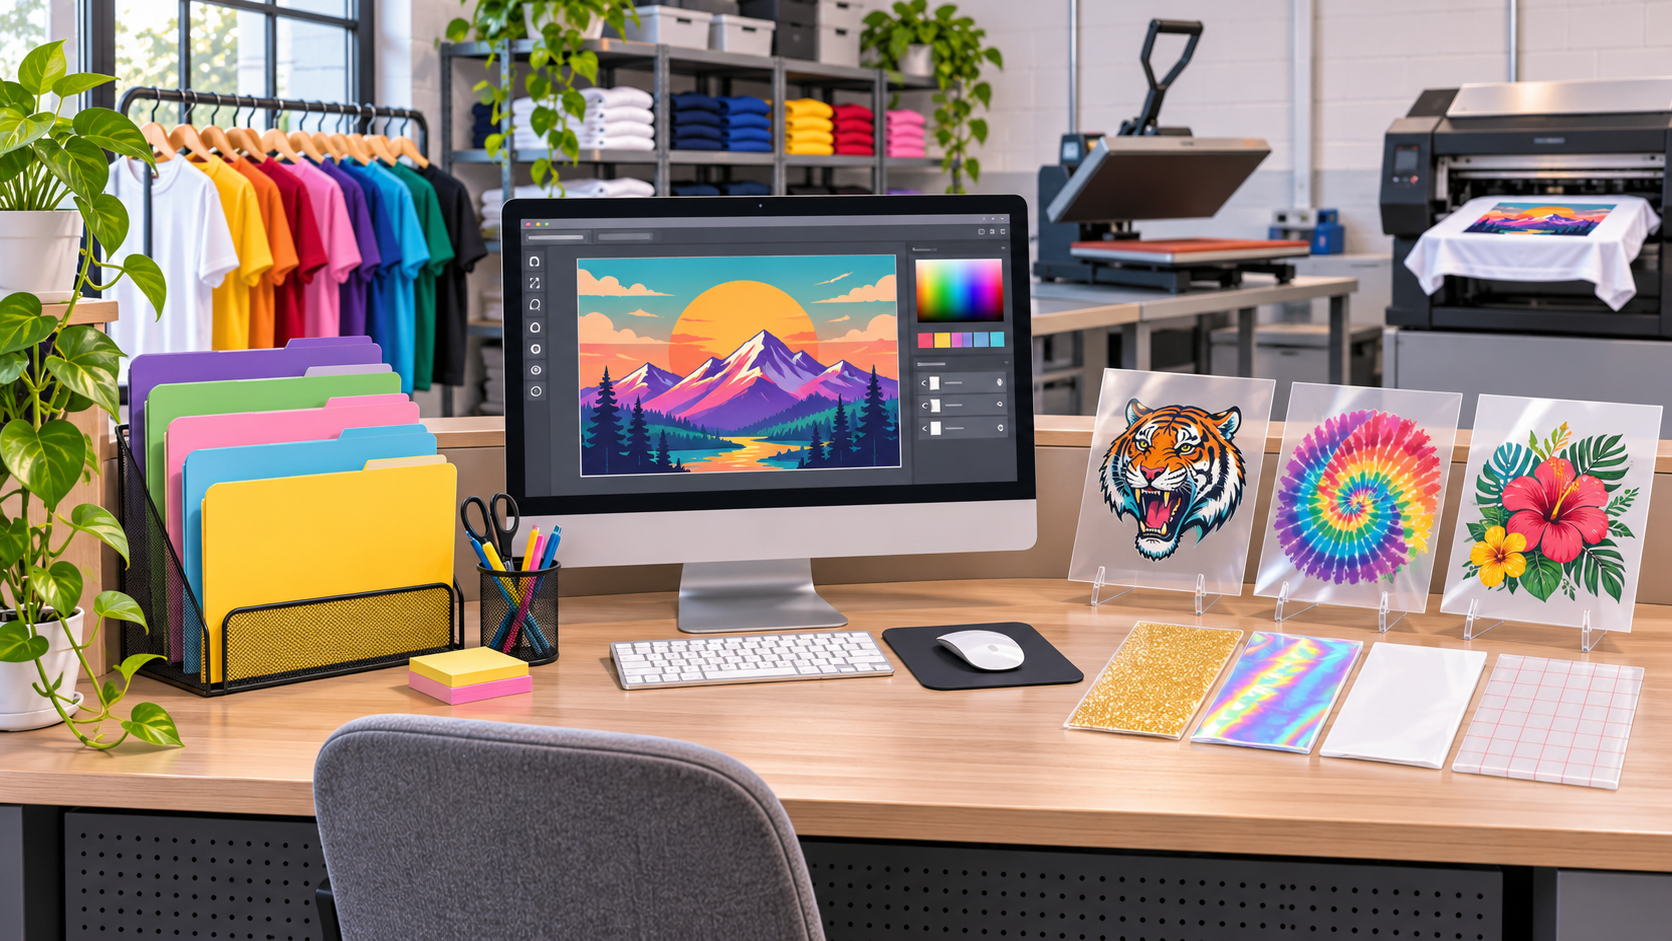
Before accepting an artwork file for a transfer order, record the intended physical size, quantity, garment placement, deadline and customer-approved proof. Open the exported file, check its dimensions and transparency, and flag unclear details before production.
Capture the job details
Ask for the finished width and height, number of copies, garment colour and placement. Confirm whether the buyer wants separate transfers or a gang sheet. Record deadlines and whether the customer expects the shop to edit the artwork. Label multiple sizes separately so they cannot be confused during production.
Inspect the file at finished size
View the file against light and dark backgrounds. Check for opaque rectangles, stray pixels, thin lines, tiny lettering and soft edges. For a raster file, divide pixels by the intended print size in inches. A 3,000-pixel-wide image printed at 10 inches is 300 pixels per inch; enlarged to 20 inches, the same file is 150 pixels per inch. Resolution alone does not guarantee a clean print, so inspect the artwork visually too.
Agree on corrections
Ask the customer to confirm resizing, background removal or colour changes before production. Upscaling cannot guarantee recovery of missing detail. If a supplied graphic uses a third-party trademark or design, request confirmation that the customer can reproduce it.
Keep the production handoff clear
Attach the approved version and final dimensions to the order, use an unambiguous filename, and distinguish it from older uploads. Record the decision when the customer accepts a visible quality warning. Review the finished layout and required spacing before printing.
Pro Transfers Builder features
Pro Transfers Builder features describe tools for customer uploads and order workflows. For transfer application and order details, consult the Formulated Prints FAQ. Formulated Apps and Formulated Prints are affiliated businesses.